ATLANES
AXIS WALL-SNOWBOARD
AXIS WALL-SNOWBOARD
Verfügbarkeit für Abholungen konnte nicht geladen werden

Made in Italy
Designed and produced in Parete (CE). A finished object, not storage hardware.
2-year EU guarantee
Every AXIS mount is covered by the EU legal guarantee of conformity.
FREE delivery in UE
Tracked delivery through our EU carriers, with Standard and Express options.
Beyond storage
Your board belongs on the wall.
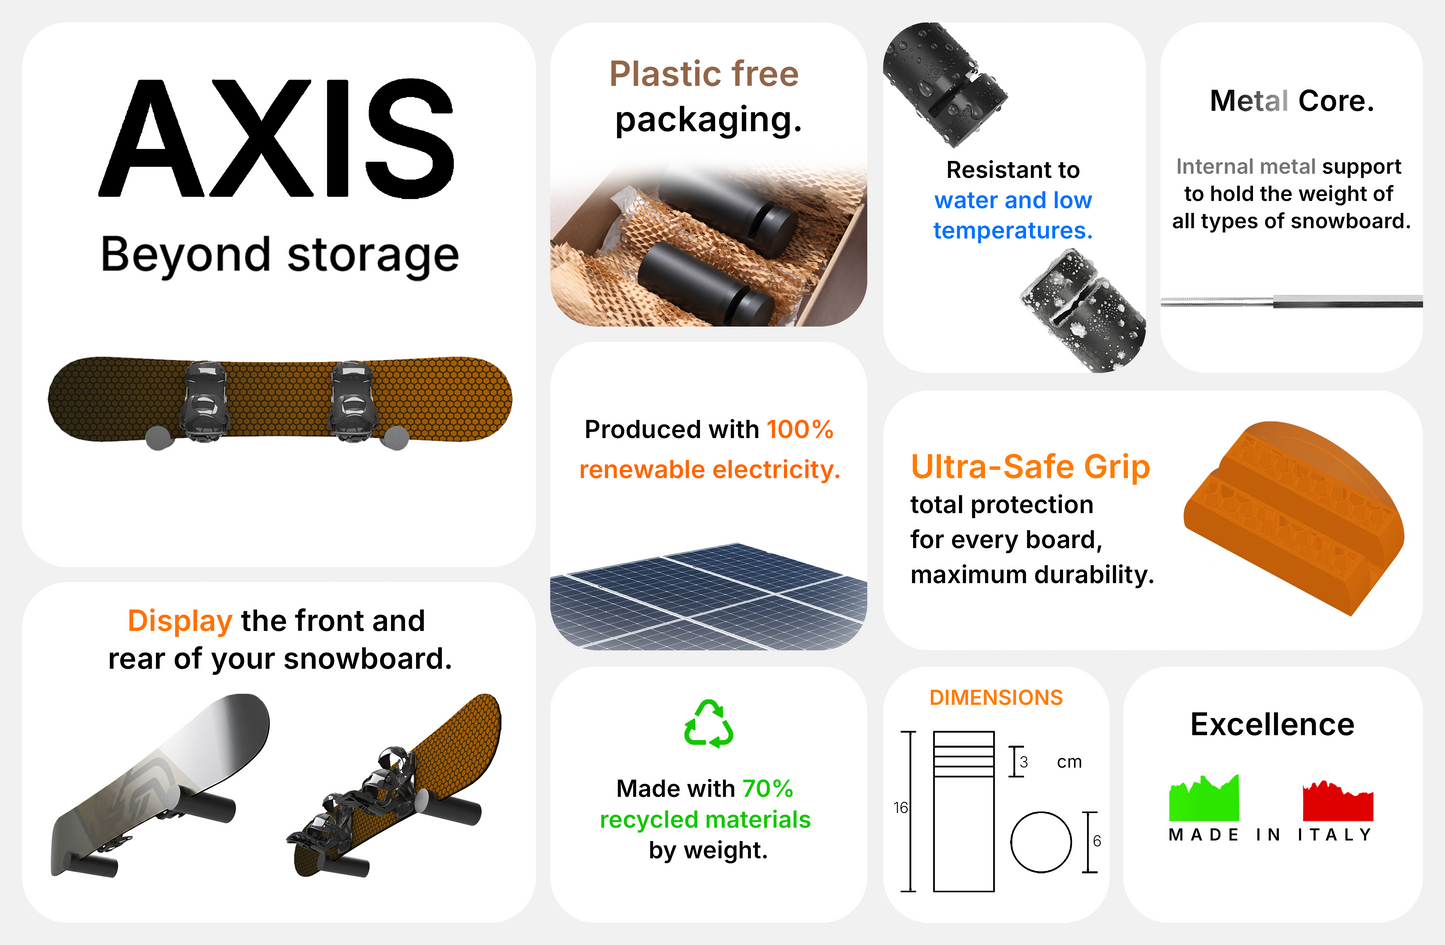
Where does your board live in summer? Not in a garage, not behind a door. AXIS turns it into the design object it already is — mounted on the wall with the bindings still on, ready to be seen.
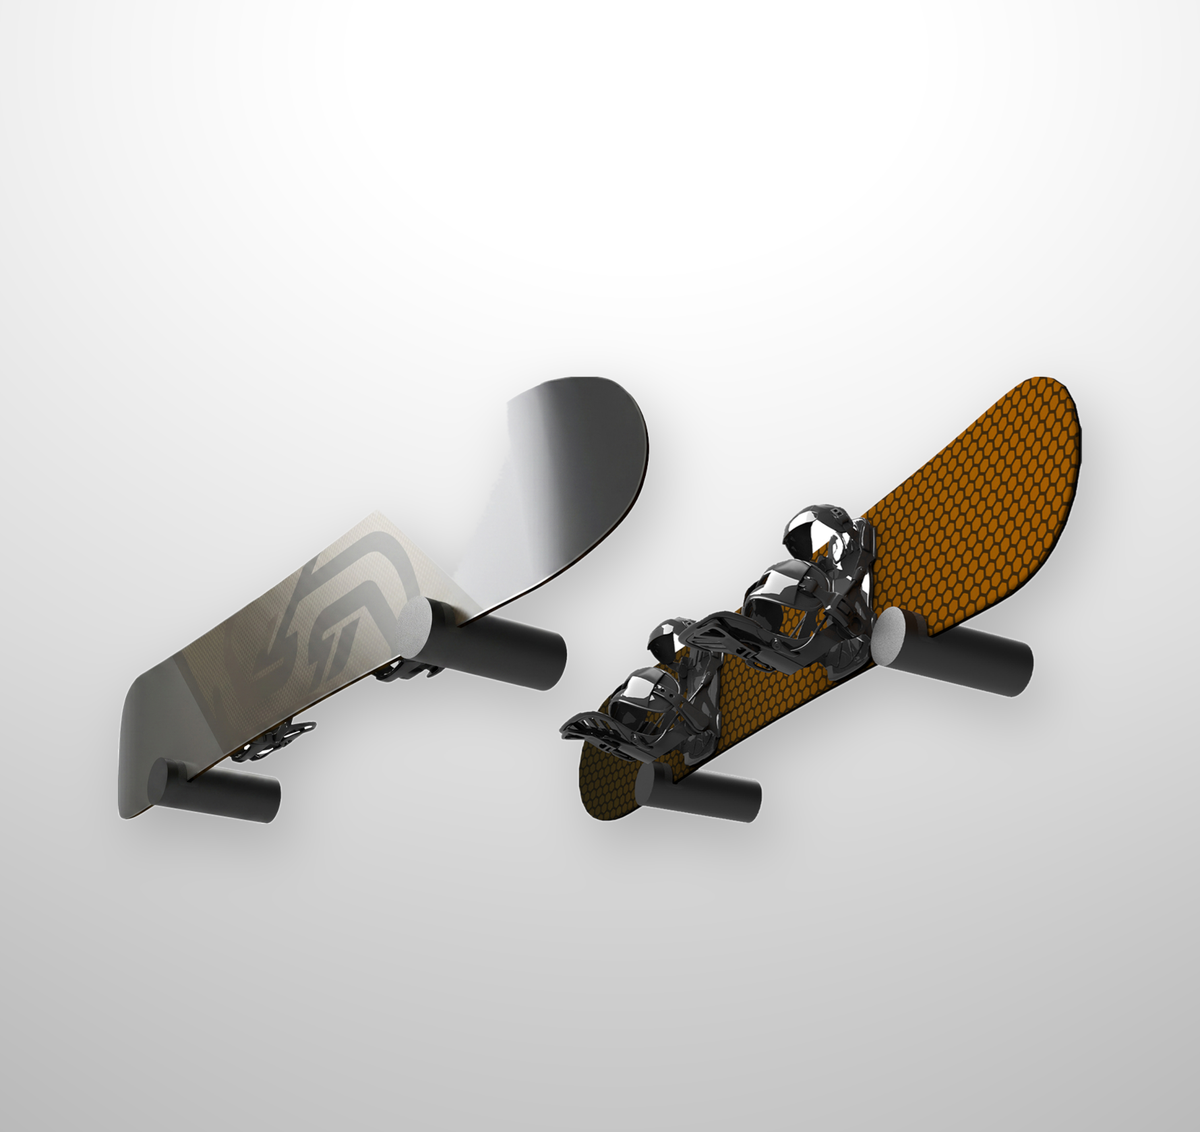
And you can show it from either side. No competitor lets you do that: flip it left or right and change the room in seconds, without unmounting a single binding.
Engineered to be seen
Every part earns its place.

Show it from either side
Mount the board with the bindings still on and display it left or right. Recompose your wall whenever you feel like it — no tools, nothing to unmount.
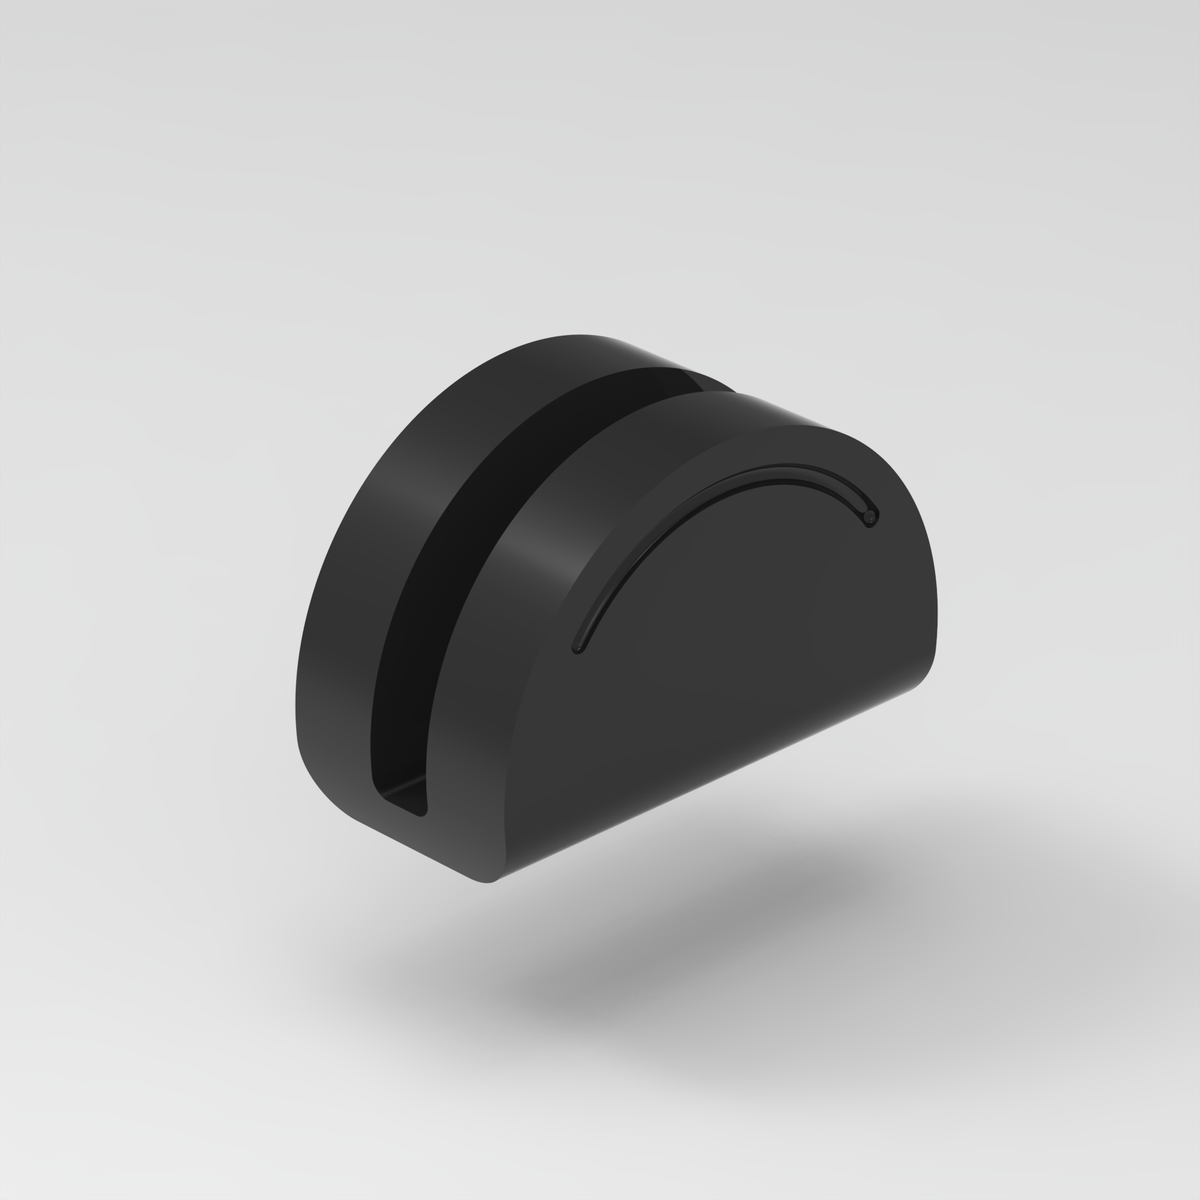
Halo contact inserts
Every point that touches your board is a soft Halo insert. It grips without leaving a mark, so base and topsheet stay protected season after season.
Specs
The details.
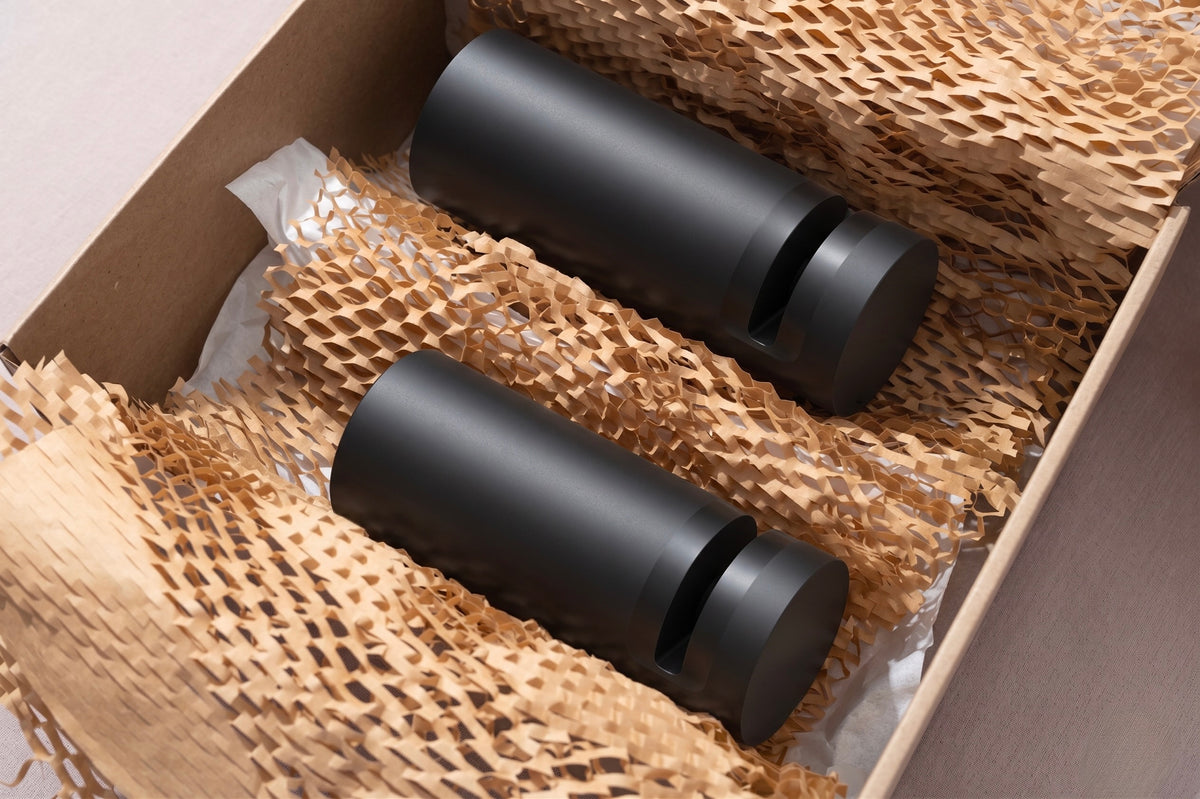
AXIS Wall Snowboard Mount, sold as a pair. For concrete and brick only — not for wood or drywall.

In the box
Everything to mount it, in one set.
Mounting
Up in minutes.
-
01

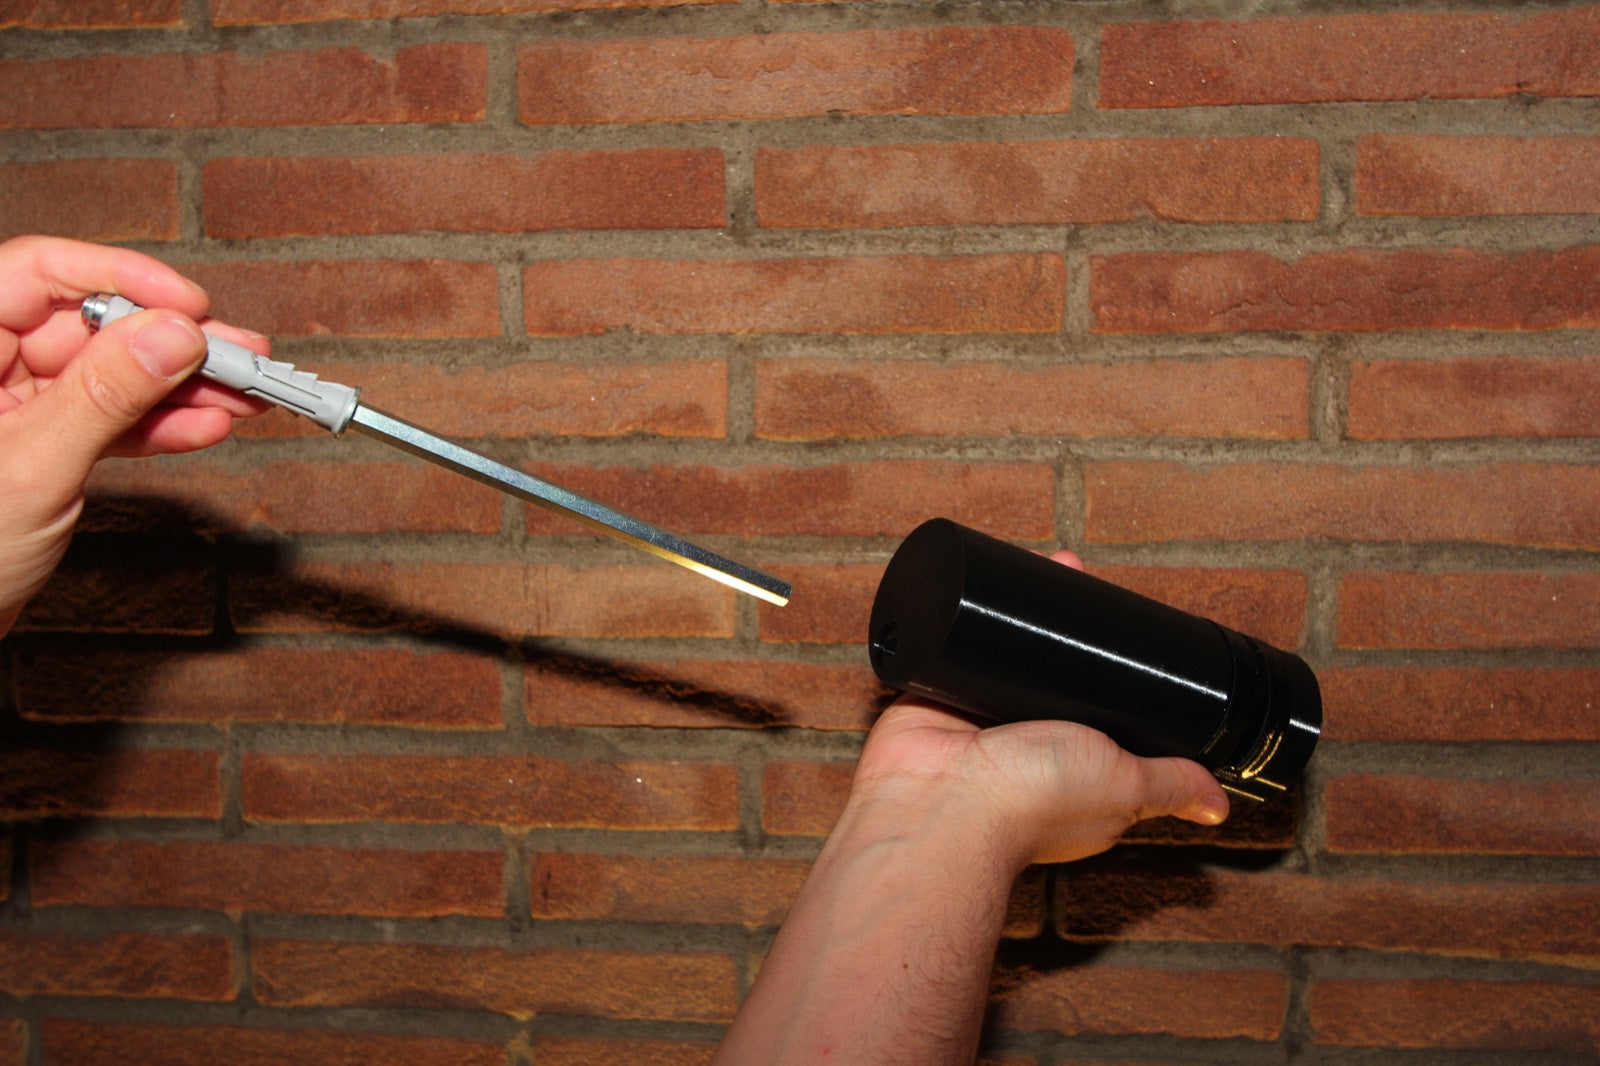
Insert the core into the Axis
Slide the metal core into each Axis. The pin that sticks out is what you use to mark the wall.
-
02
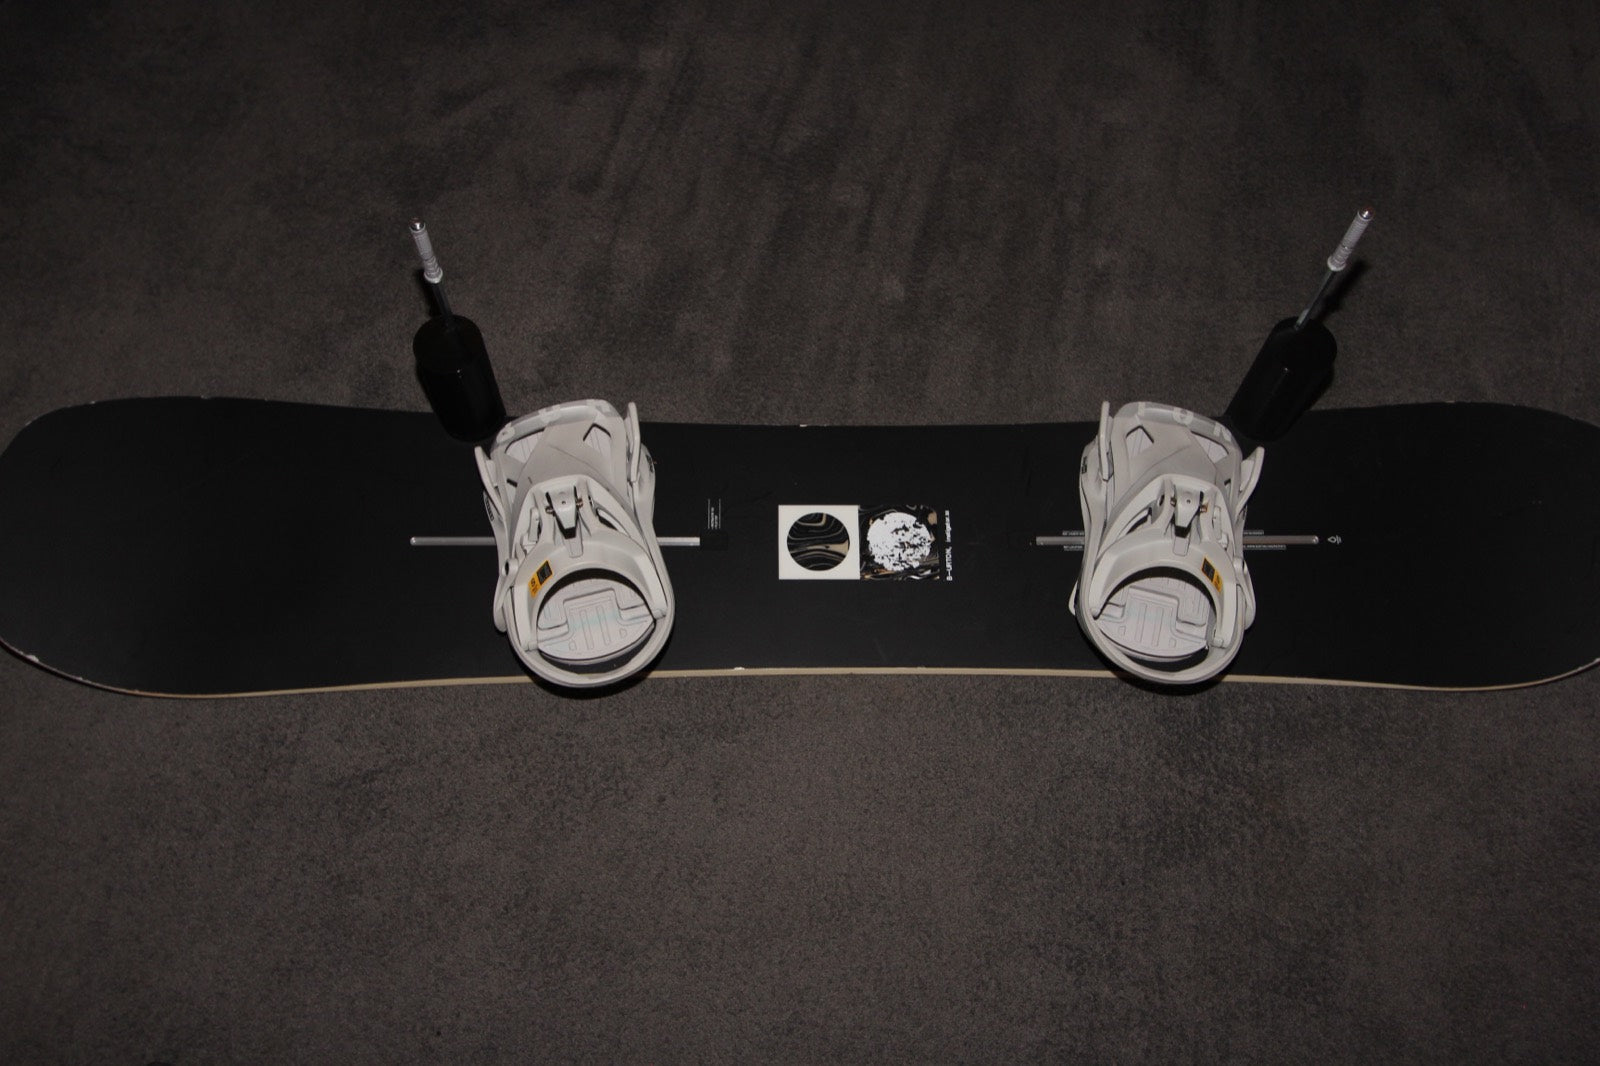
Position the mounts on the board
Place both Axis on your board in the final position — one at the nose, one at the tail — pins facing out.
-
03
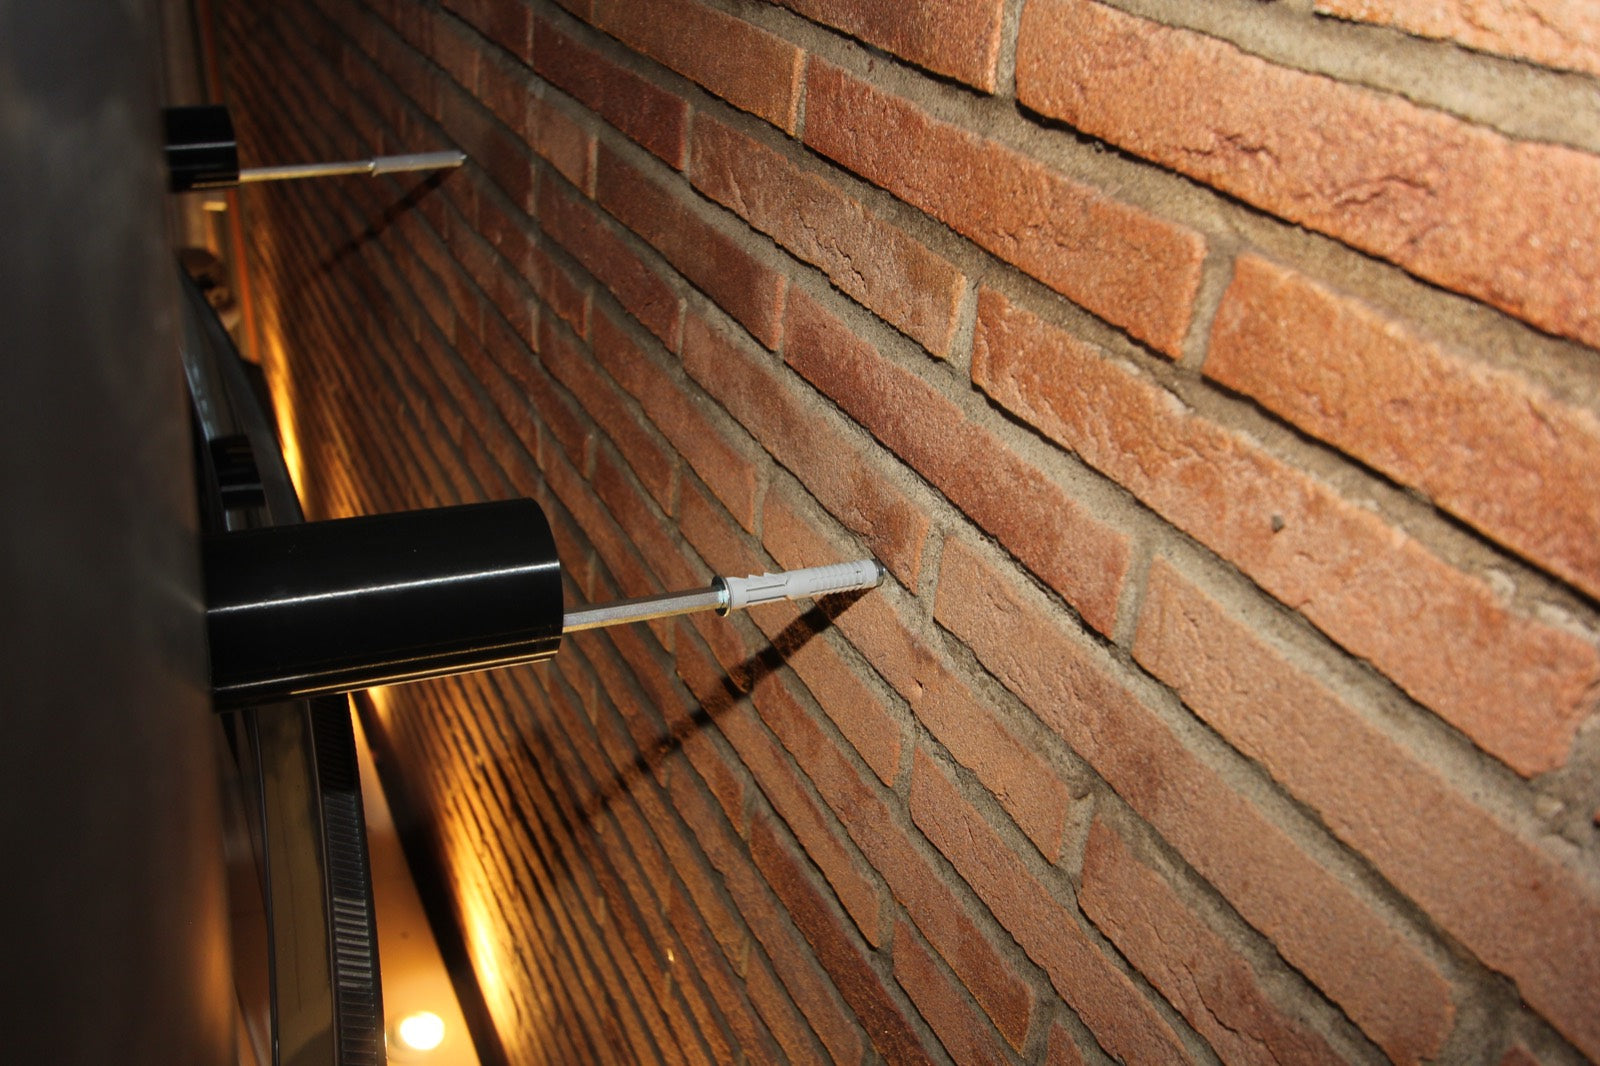
Offer the board to the wall
Hold the board where you want it and find the two points where the pins touch the wall.
-
04
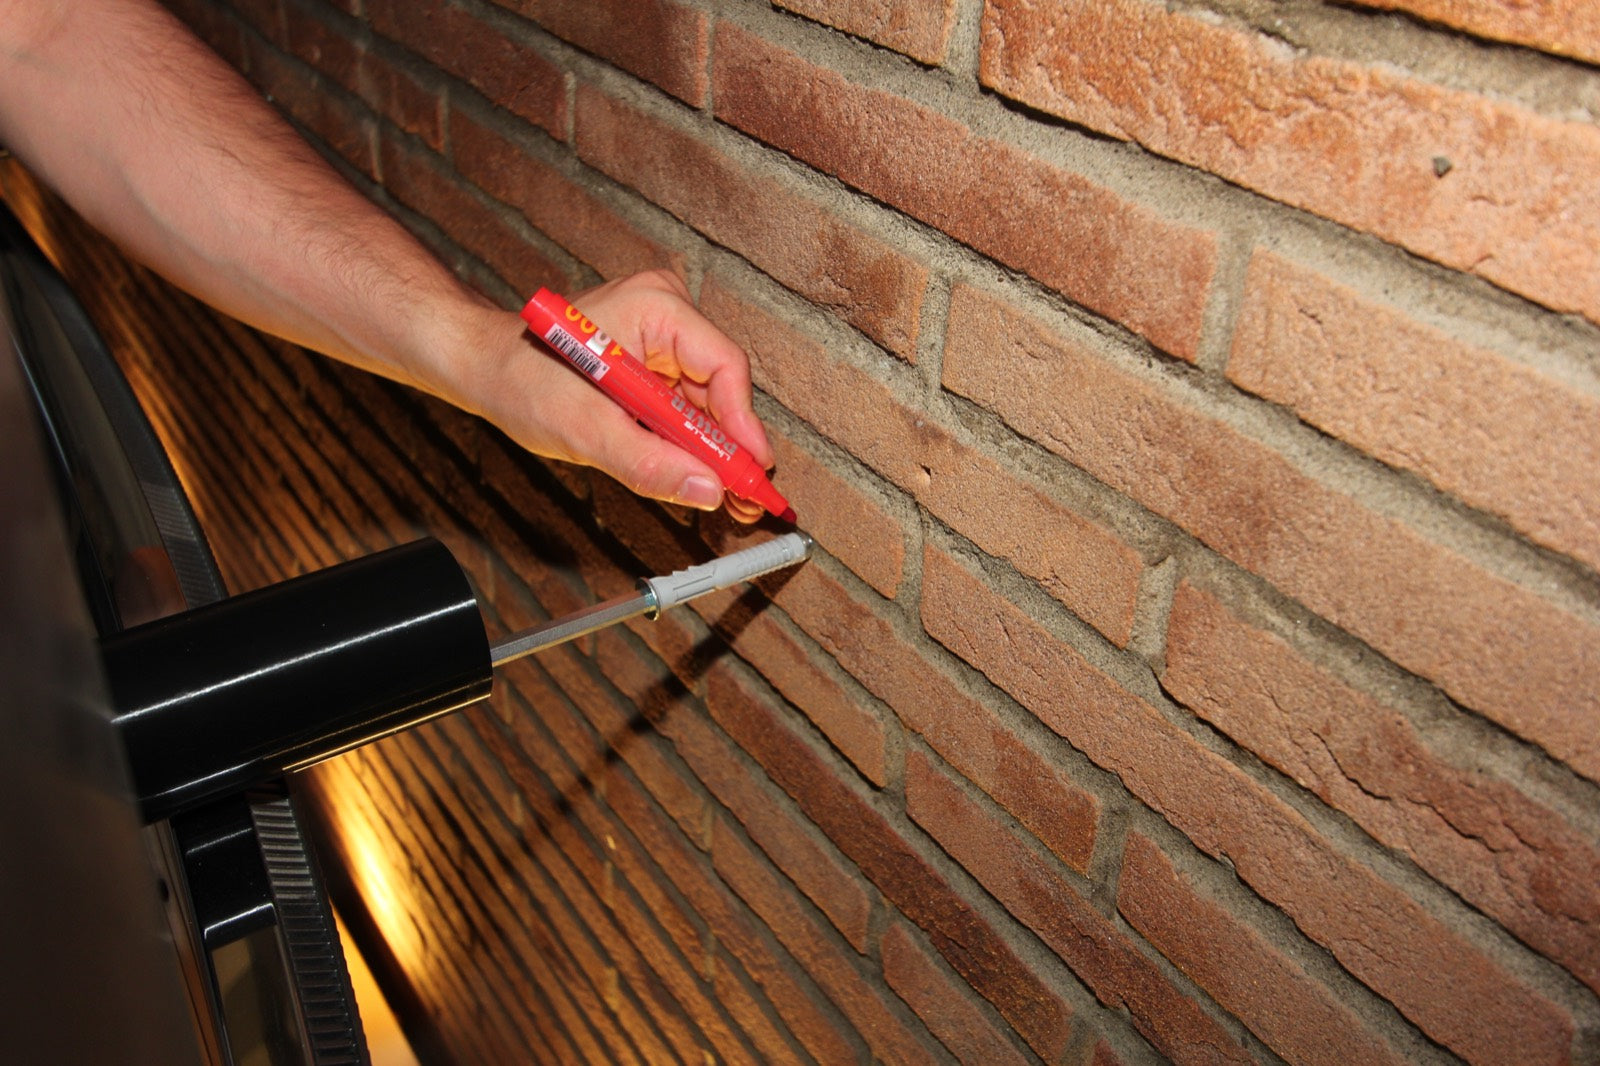
Mark the points
Mark the two pin points with a pencil. Use a spirit level to keep them perfectly even.
-
05
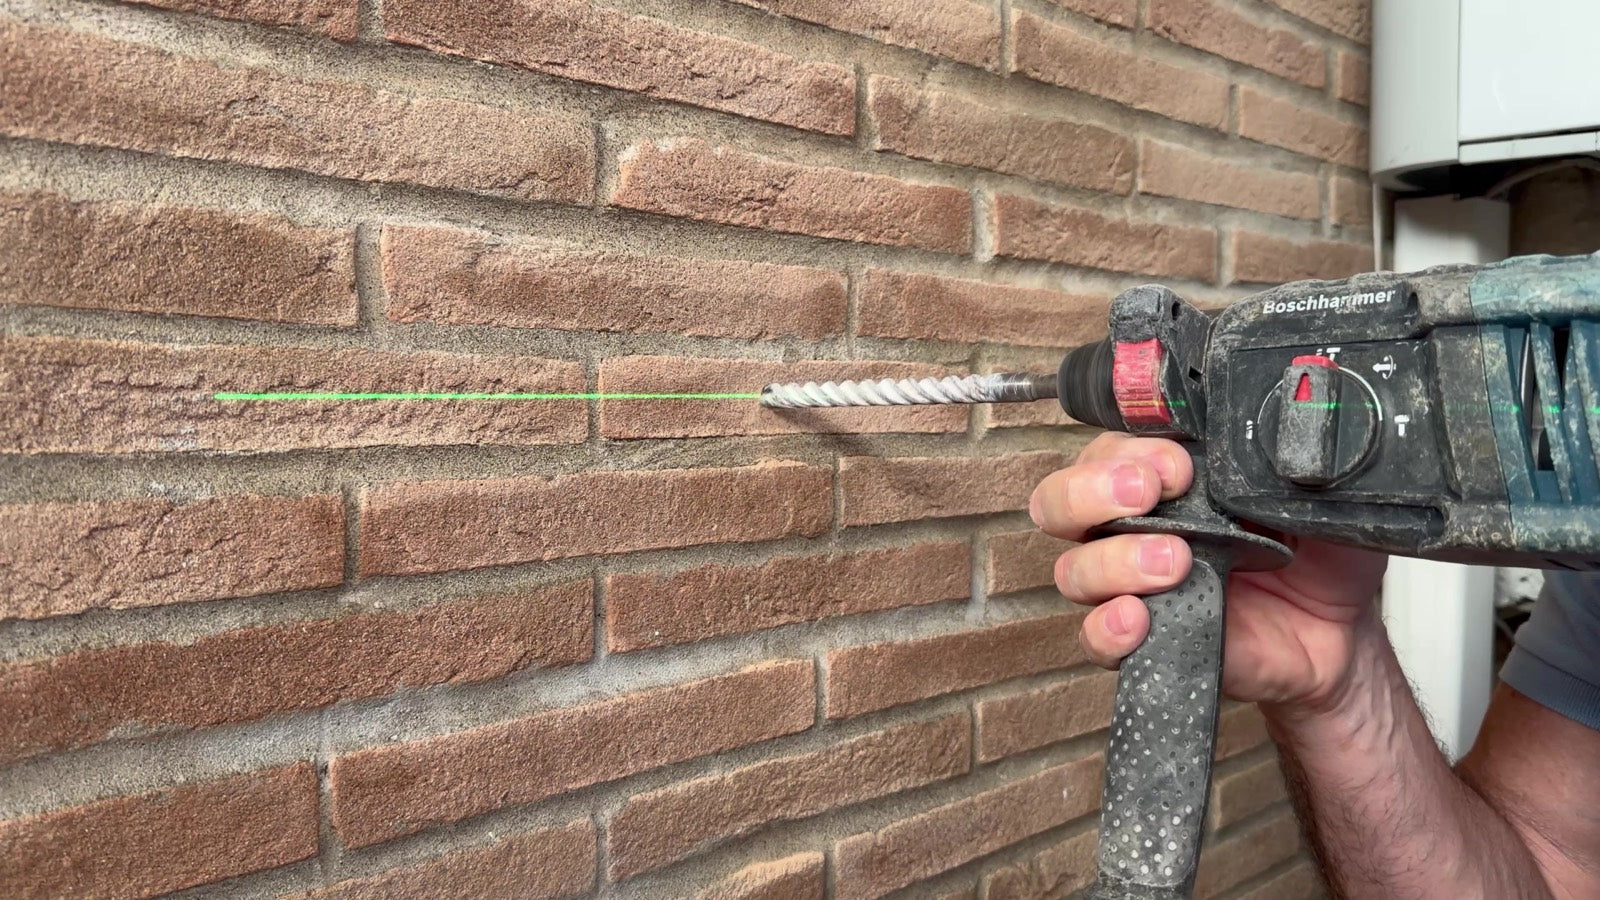
Drill the holes
Drill at the marks with a 12 mm masonry bit, 7.5 cm (3 in) deep. Clear the dust.
-
06
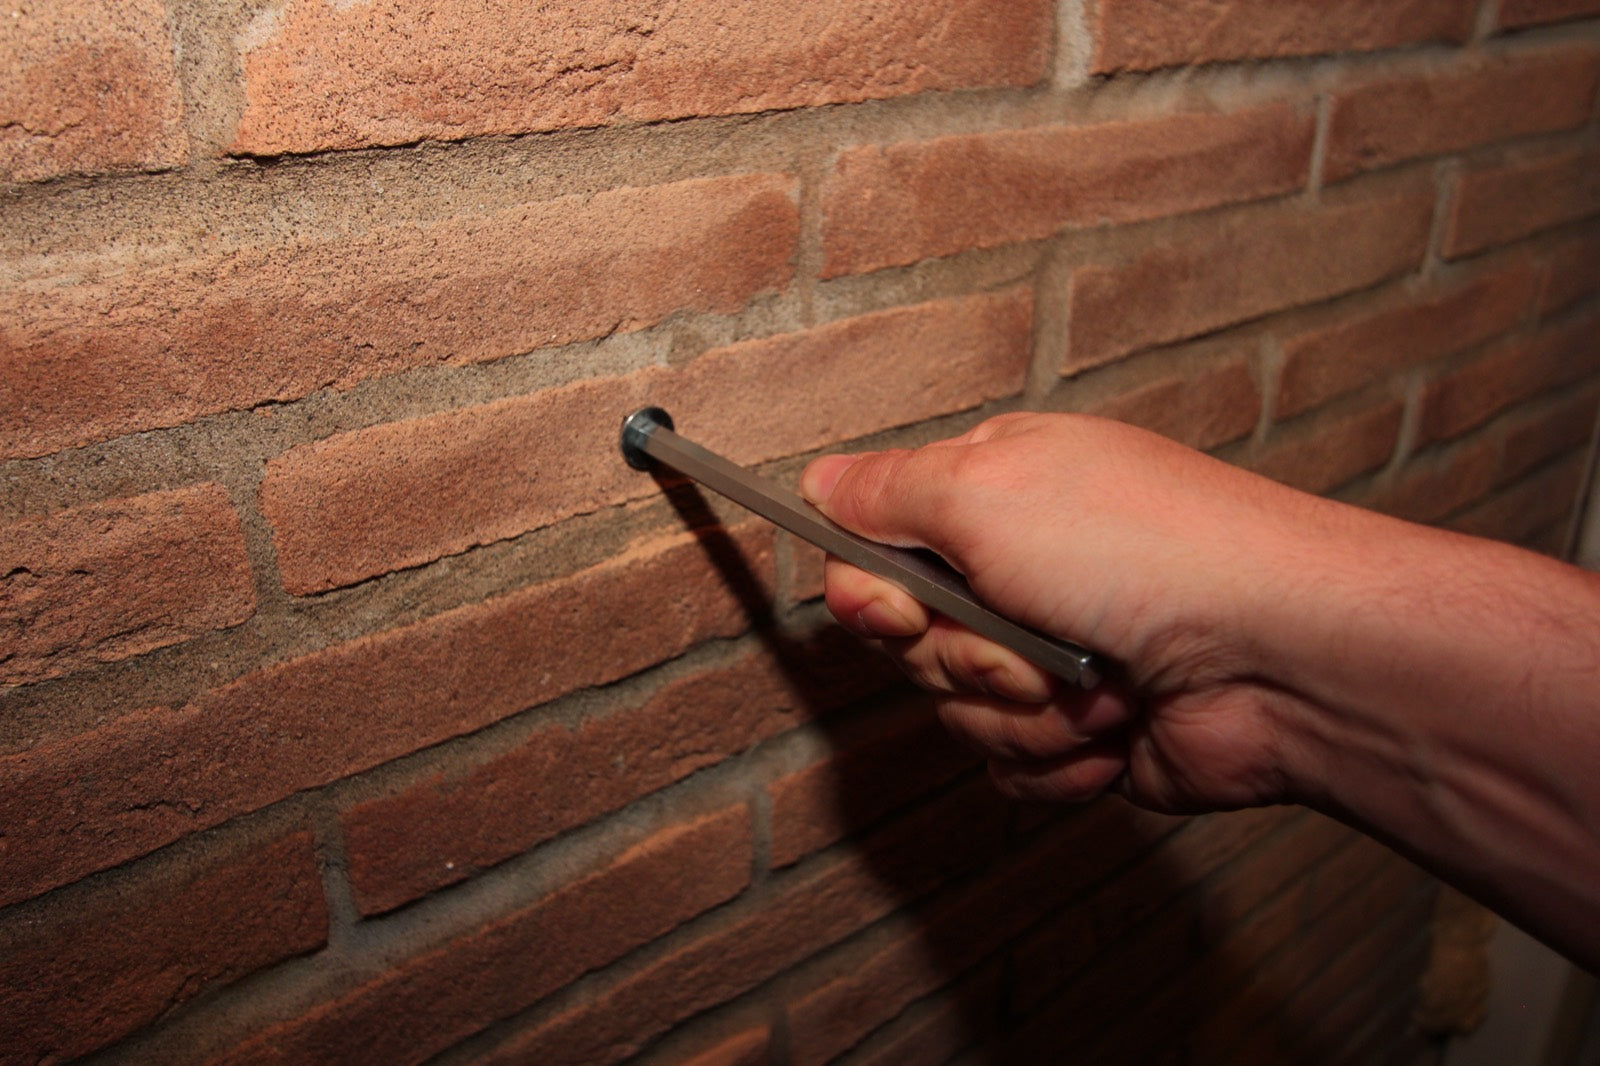
Insert the wall plugs
Tap a plug into each hole. It should sit flush and snug — no wobble.
-
07
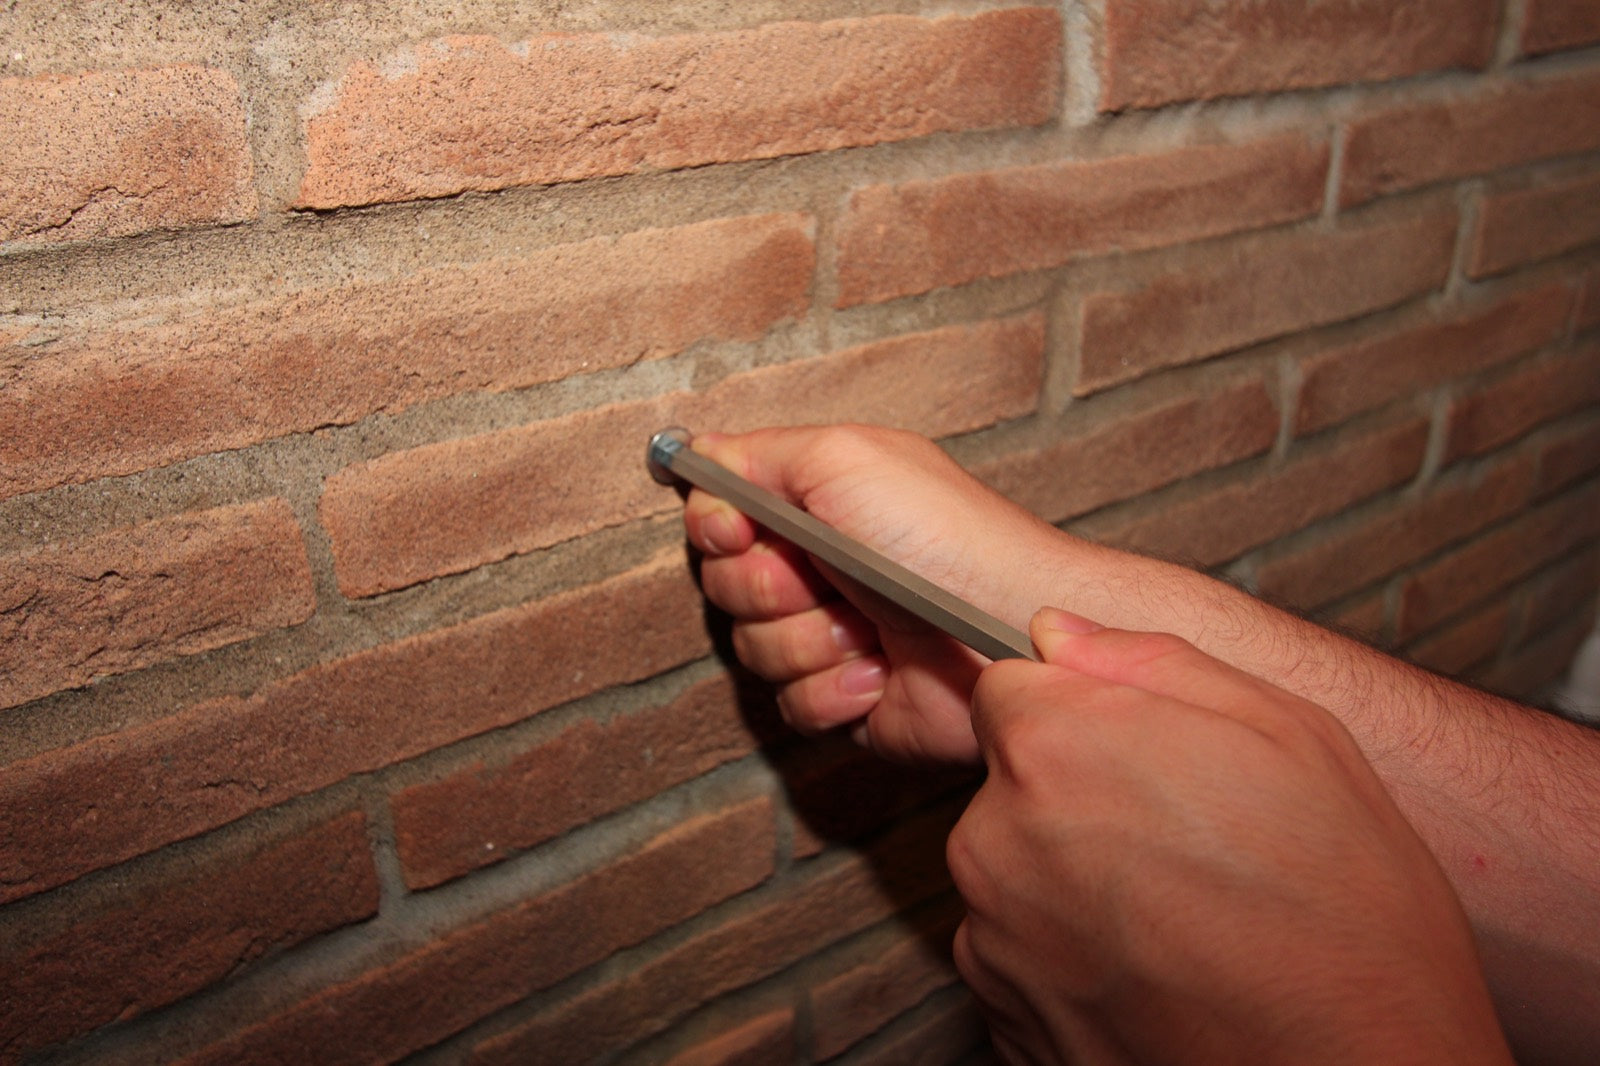
Screw in the core
Fit the core onto the plug and tighten fully. Repeat for the second mount.
-
08
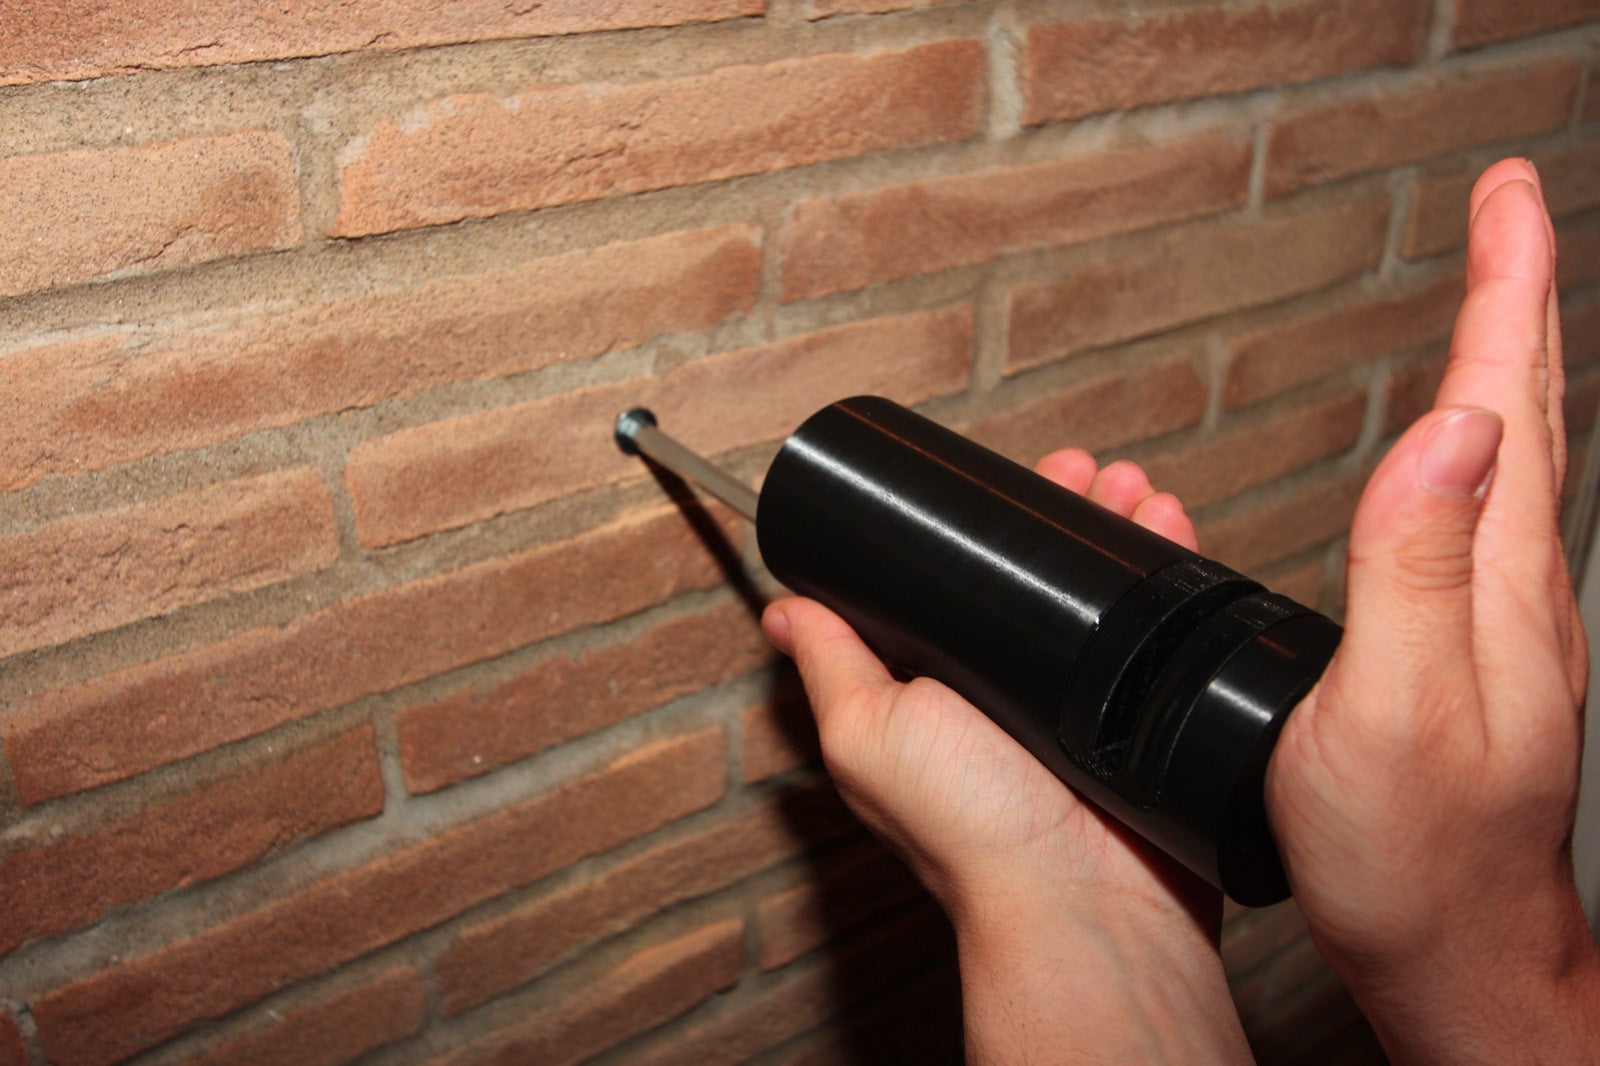
Cover the core with the Axis
Slide the Axis over the core until the hardware is completely hidden.
-
09
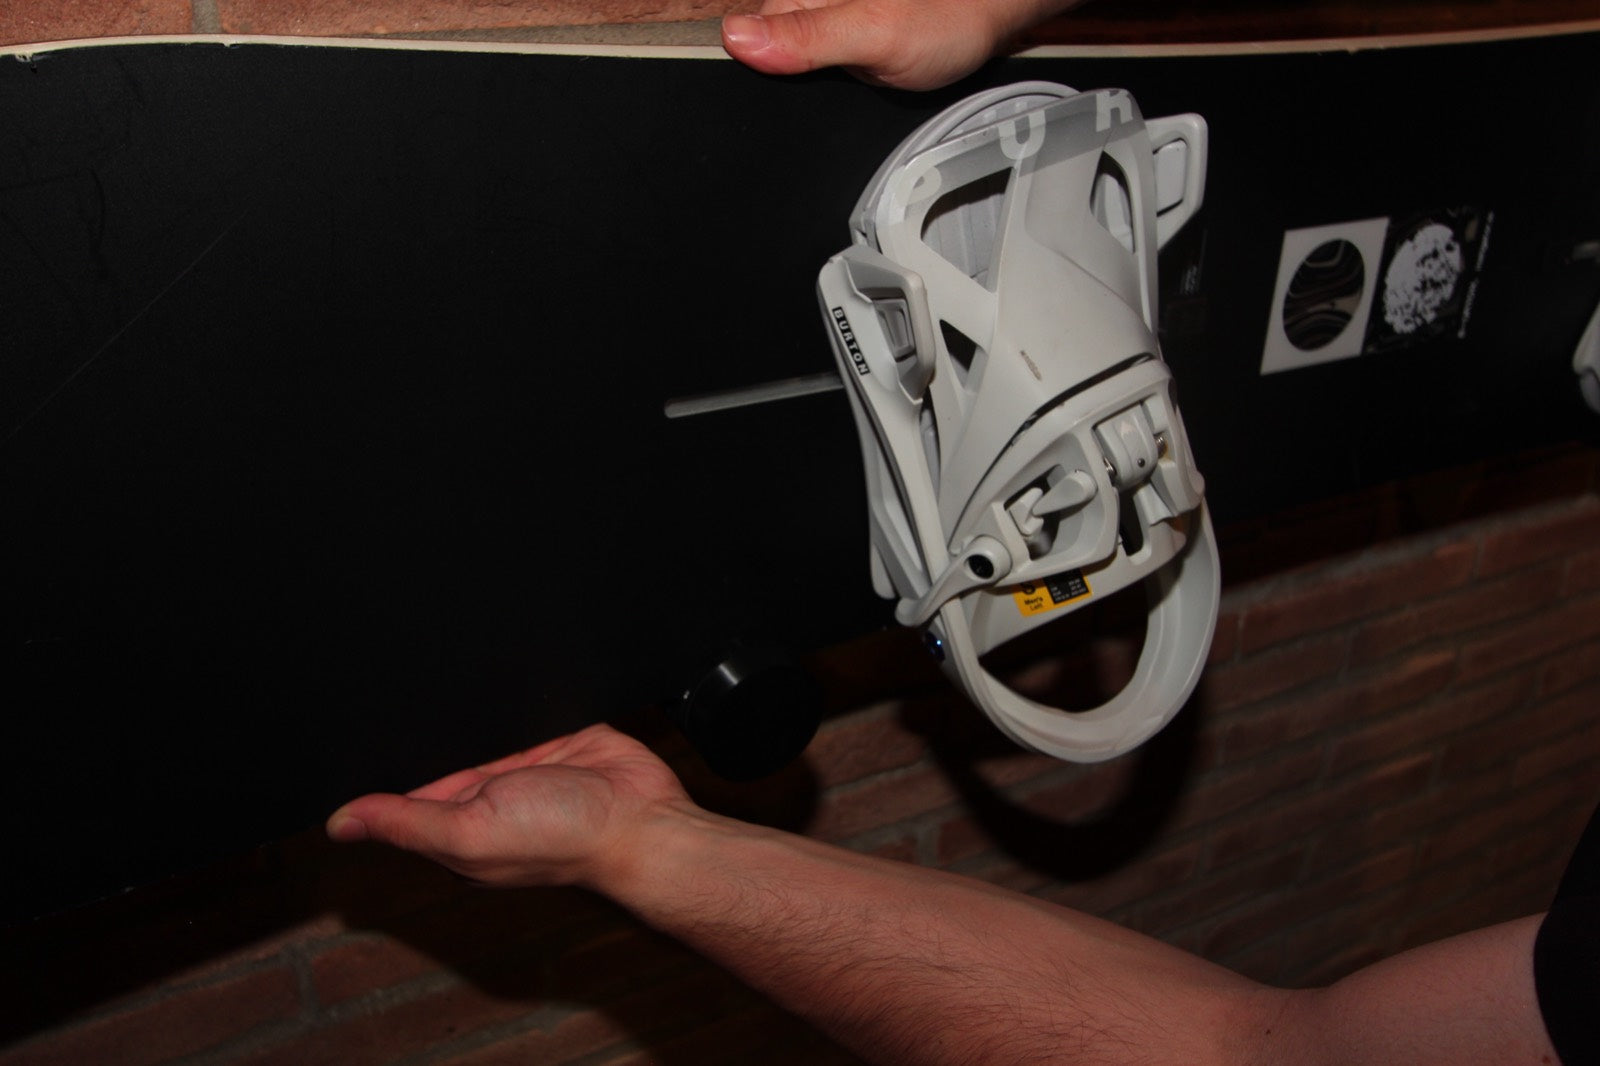
Place your board
Rest the board on the mounts. The soft TPU inserts protect it. Done — Beyond Storage.
FAQ
Frequently asked.
Which walls does it work on? +
The Core anchor system is available with dedicated adapters for every wall type: masonry (concrete, solid or hollow brick), drywall/plasterboard, and wood. Wall type selection is required at checkout to ensure you receive the correct adapter for installation.
Structured PDP/FAQ version:
Select your wall type at checkout:
🧱 Masonry (concrete, solid or hollow brick)
🏗️ Drywall / Plasterboard
🪵 Wood
Knowing your wall type is essential — you'll receive the specific adapter matched to your selection.
Do I have to remove the bindings? +
No — that's the whole point. The board goes up with the bindings still mounted, and you can display it from either side depending on the look you want.
Is it for snowboards or skis? +
This is the AXIS snowboard mount. A dedicated AXIS ski mount is available separately, built on the same metal Core system.
How do returns work? +
You have the EU 14-day right of withdrawal. Under EU law the cost of return shipping is at the customer's expense unless stated otherwise. The mount is covered by the 2-year EU legal guarantee.
Is it hard to install? +
Each set includes two mounts, two metal Core anchors, two Halo inserts and a QR code with step-by-step instructions. You'll need a drill suitable for masonry.
Put it on the wall.
AXIS Wall Snowboard Mount · Made in Italy


